


 Before you begin, check if your TV is standard-definition (SD) or high-definition (HD). This will help you determine what cable to use.
Connecting to an HDTV
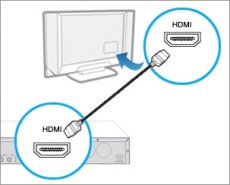
Option 1 (RECOMMENDED): Using an HDMI Cable
This option supports high definition video and Dolby Digital audio.
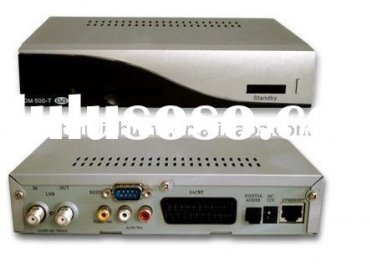
How to connect: Plug one end of the cable into the HDMI port on the back of your receiver. Plug the other end of the cable into the HDMI port on the back of your TV.
Note: If you don't see a clear picture, your TV might not be set on the right input (for example, HDMI 1). You can change your TV Input using your TV remote control or manually by pressing the Input, Source, TV/Video, or A/V button on your TV's control panel.
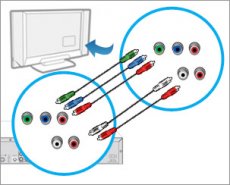
Option 2: Using an RCA-Type Cables (Component)
This option supports high definition video and audio. You will need two separate RCA-type cables.How to connect:
a. Plug the green, blue, and red ends of Cable 1 into the corresponding green, blue, and red output ports on the back of your receiver. Plug the other ends of the cable into the corresponding input ports on the back of your TV.
b. For audio, plug the red and white ends of Cable 2 into the corresponding red and white output ports on the back of your receiver. Plug the other ends of the cable into the corresponding input ports on the back of your TV. DO NOT use the yellow end of the cable.
c. Set your TV resolution to 1080i or 720p.
 : If you don't see a clear picture, your TV might not be set on the right input (for example, Component 1). You can change your TV Input using your TV remote control or manually by pressing the Input, Source, TV/Video, or A/V button on your TV's control panel.
Connecting to a Standard-Definition TV
Option 1 (RECOMMENDED): Using an RCA-Type Cable (Composite)
This option supports standard definition video and stereo audio (not Dolby Digital).
How to connect: Plug the yellow, white, and red ends of your RCA cable into the corresponding yellow, white, and red output ports (A/V Out) on the back of your receiver. Plug the other ends of the cable into the corresponding input (A/V In) ports on the back of your TV.
: If you don't see a clear picture, your TV might not be set on the right input (for example, Video 1). You can change your TV Input using your TV remote control or manually by pressing the Input, Source, TV/Video, or A/V button on your TV's control panel.
Option 2: Using a Coaxial Cable
This option supports standard definition video and mono audio.
How to connect: Plug one end of the cable into the "Out to TV" port on the back of your receiver. Plug the other end of the cable into the "In From Antenna" port on the back of your TV.
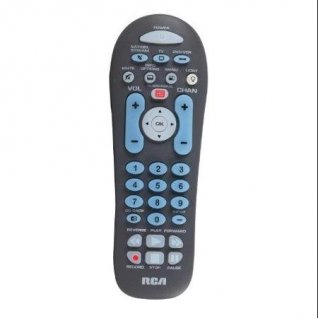
Use your TV remote (not your DIRECTV remote) to tune in to Channel 3 or 4.
OPTION 1 (RECOMMENDED): Using an HDMI Cable
This option supports high-definition video and Dolby Digital audio.
A. Plug one end of the cable into the HDMI port on the back of your Genie Mini.
B. Plug the other end of the cable into the HDMI port on the back of your TV.
OPTION 2: Using a 10-pin mini-DIN Cable
This option supports standard-definition and high-definition (1080i or 720p) video and audio.
A. Plug the black, 10-pin connector into the A/V Out port on the back of your Genie Mini.
B. Plug the other end(s) of the cable(s) into the corresponding colored input ports on the back of your TV.
Connecting to a Standard-Definition TV
Use a 10-pin mini-DIN Cable
A. Plug the black, 10-pin connector into the A/V Out port on the back of your Genie Mini.
B. Plug the other end(s) of the cable(s) into the corresponding colored input ports on the back of your TV.
Source: support.directv.com

|
DIRECTV RC66RX RF Remote Control - R,H/HR & Above - XMP Speakers (DIRECTV)
|

|
Valley Enterprises® Satellite Finder Locator Signal Strength Tuning Meter CE (Valley Enterprises)
|

|
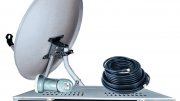
DirecTv 18-Inch Satellite Dish CE (Zinwell Corp)
|

|
DIRECTV Wireless Video Bridge Home Theater (DIRECTV)
|

|
DIRECTV C41W Wireless Genie Mini (Client) Home Theater (DIRECTV)
|
Related posts: