


Here are some common problems encountered with satellite TV systems, with troubleshooting steps:
2. One Receiver: No Picture on Any Channel
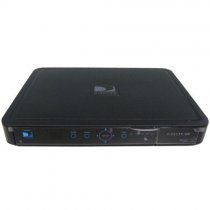
This indicates the cable box is not acquiring a satellite signal.
6. Receiver Changes Channels on Its Own (Remote Wars)
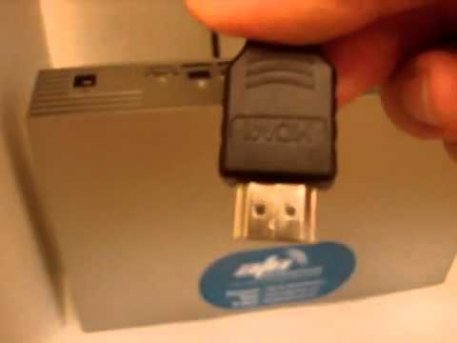
Many Dish remotes use radio frequency (RF) transmissions instead of infrared (IR) transmissions. While an IR remote works mostly line-of-sight—to work, the remote has to be pointed at the receiver with nothing in between—RF passes through walls, furniture, and people with ease. So an RF remote in one apartment can control a receiver in another nearby apartment. This only happens when the remote and the receiver are using the same address. To fix the problem, you'll need to set the receiver's remote address to a different number.
1. Bring up the "System Info" Screen. This is a different process for each receiver. If it has a smart card, remove it. If the only buttons on the receiver are "Power, " "Up, " and "Down, " turn the receiver off and press the Up button. If the receiver has a "System Info" button on its front panel (perhaps under a door), press it. You can also find System Info in the menu; open the menu, press 6 for System Setup, press 1 for Installation, then press 3 for System Info.
2) Look at the Remote Address and remember the number.
3) Press and hold the "SAT" button on the Dish remote until all four mode lights light up, then let it go. The SAT button should start blinking, and the other three mode lights should go out.
4) Pick a number 1 through 12 other than the current Remote Address (newer receivers can use addresses 1 through 16). Enter the number as a two-digit number (for example, enter "1" as "01") then press "#." The SAT button should go out, blink three times, then go out again. The remote is now set for that address number.
5) Point the remote at the receiver and press the Record button twice. You should see the Remote Address on the System Info screen change to the remote's new address number.
Source: turbofuture.com
Related posts: